Quick Start
Create your first machine.
Before you begin
You need a SenetLab account. Sign up at senetlab.com and confirm your email. Your first machine spins up in under a minute.
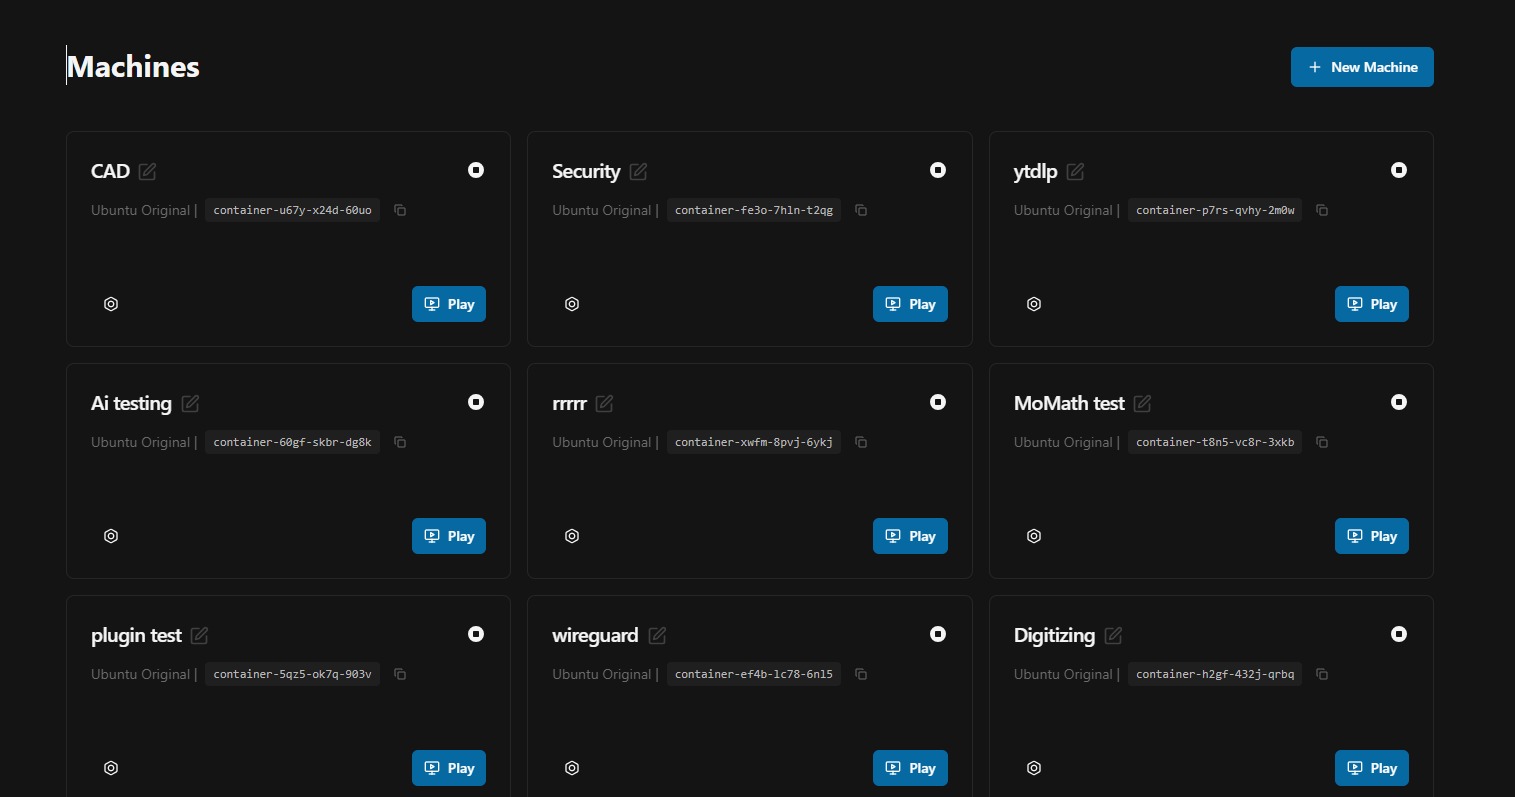
Step 1 — Create your first machine
From the dashboard, click New Machine. You will see a configuration panel with three resource sliders: CPU, RAM, and disk. For general development, 4 vCPUs, 8 GB RAM, and 20 GB disk is a comfortable starting point. You can resize these later.
Give the machine a descriptive name. Something like stm32-dev-workspace rather than machine-1. You will thank yourself when you have six of them.
- Click New Machine on the dashboard.
- Set resources: 4 vCPUs, 8 GB RAM, 20 GB disk.
- Name the machine.
- Click Create.
Step 2 — Open the desktop
Click on Play This will open the machine in a new tab. The first boot takes thirty to sixty seconds while the base image initialises. Subsequent starts are faster because the disk state is preserved.
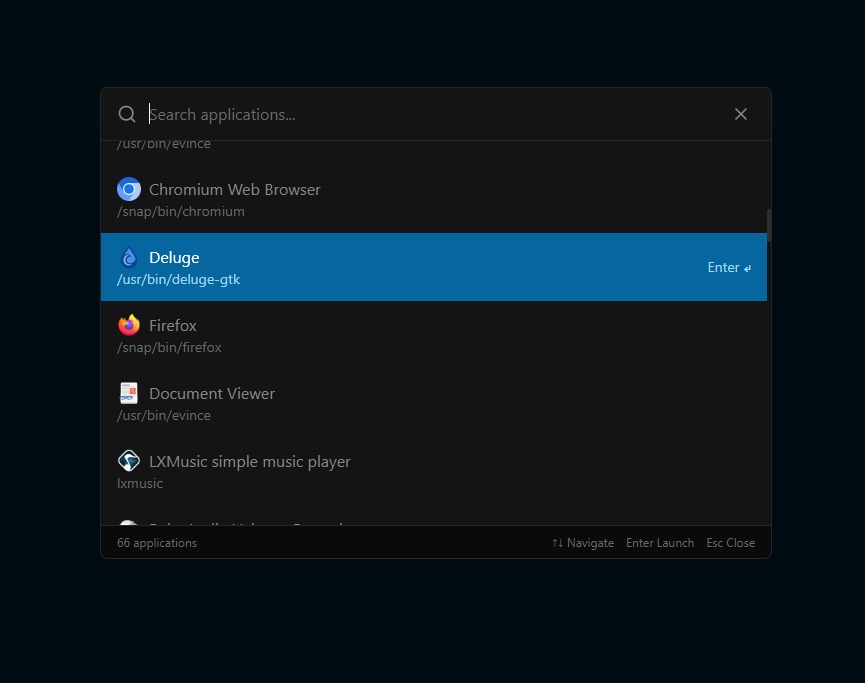
You will see an Ubuntu desktop with a top bar containing the app launcher, device manager, and Senet AI assistant. Open a terminal,chrome and play around.
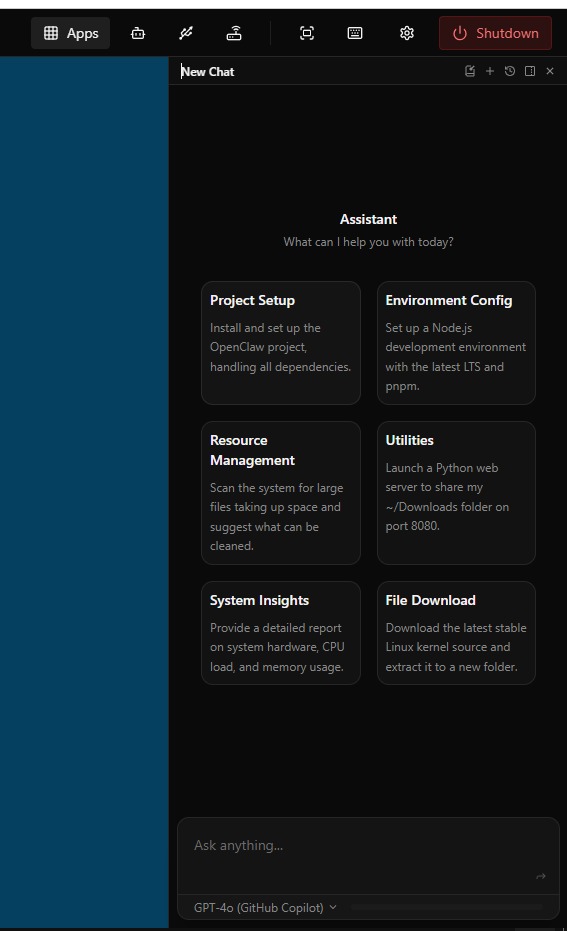
Step 3 — Ask the assistant to set you up
Click and open the Assistant. You will see a chat interface on the right side of the screen. Type what you need. For example:
- "Install PlatformIO and the STM32 toolchain."
- "Set up a Python virtual environment with OpenCV."
- "Clone the esp-idf repo and install the dependencies."
The assistant executes the commands, shows you the output, and explains what it did. You can interrupt, correct, or refine at any point. It is not a chatbot that gives you a README to follow — it does the work.
Step 4 — Create a checkpoint
Before you experiment, save your state. Open the machine settings and click Checkpoint. Give it a name like base-setup. Now you can break things with impunity. If an experiment goes wrong, restore the checkpoint and you are back to a clean state in seconds.
Step 5 — Share or relay (optional)
If you want a colleague to see what you have built, enable sharing in the machine settings and copy the link. If you are running a web service and need an HTTPS URL, add a relay for the port.
What next?
- Connect physical hardware: read the Hardware Access guide.
- Understand sharing permissions: read the Sharing & Cloning page.
- Expose a local API or dev server: read the Relays page.